If you’re looking for ways to control your finances, look no further than your heating and cooling system. Home heating and air conditioning systems claim more than half of total household energy consumption, and cost thousands of dollars to replace. Keeping your HVAC system in top condition is a great way to save money on monthly energy bills, and to stave off the high costs of repairing or replacing the system, or having to call Aarons!
How Much Does Air Duct Cleaning Cost
Read on for HVAC maintenance tips to help keep your home more comfortable and your budget in the black.
1. Schedule Professional HVAC Preventative Maintenance
Consider scheduling two seasonal HVAC tuneups each year, one in the spring for the air conditioning and one in the fall for the heating. During these maintenance checkups, HVAC installation companies and technicians will thoroughly service, inspect and troubleshoot the system to keep it working efficiently and prevent breakdowns. The HVAC tech will:
- Check the thermostat calibration and settings
- Tighten electrical connections as needed
- Lubricate all moving parts
- Inspect the condensate drain and clean as needed
- Check the system controls
- Clean and adjust the blower components
- Clean the evaporator and condenser coils
- Check the refrigerant charge
- Check fuel line connections
- Inspect the gas pressure, burner combustion and heat exchanger
2. Change the Filters
Filters remove dust, hair and other particles from the air so that these pollutants are not spread throughout the home. You can improve the air quality inside of your home and use less energy by changing the HVAC filter every 30 days. Clean filters let more air pass through, allowing the system to heat and cool more efficiently. For most systems, filters with a MERV rating between seven and 13 offer an excellent balance between filtration ability and maximum airflow.
3. Perform Visual Inspection of the HVAC System
Inspect the system monthly when changing the filter to uncover potential problems. Check out the thermostat, inside the unit, outside unit, registers and returns. In addition to that, you should check the following:
- Check the battery status on the thermostat
- Inspect the condensate system to ensure that it is draining properly
- Ensure that the filter access and cabinet door are securely closed
- Make sure the flue system is securely attached and fully intact
- Ensure that all registers and returns are unblocked and open
- Check all registers for signs of mold
- Make sure the outdoor unit is level. Use rot proof shims to level it if necessary
4. Eliminate Clutter Around the Indoor HVAC Unit
Keeping the area around your indoor HVAC unit clear improves air quality and safety. The more stuff you have sitting around, the more surface area there is to collect dust that will eventually make its way into the vent system. Clutter also reduces air circulation in the immediate area, which is bad for system efficiency. Plus, clutter can become both a fire hazard and a trip hazard, and make it harder to perform repairs and maintenance.
5. Keep the Outside Unit Clean and Clear
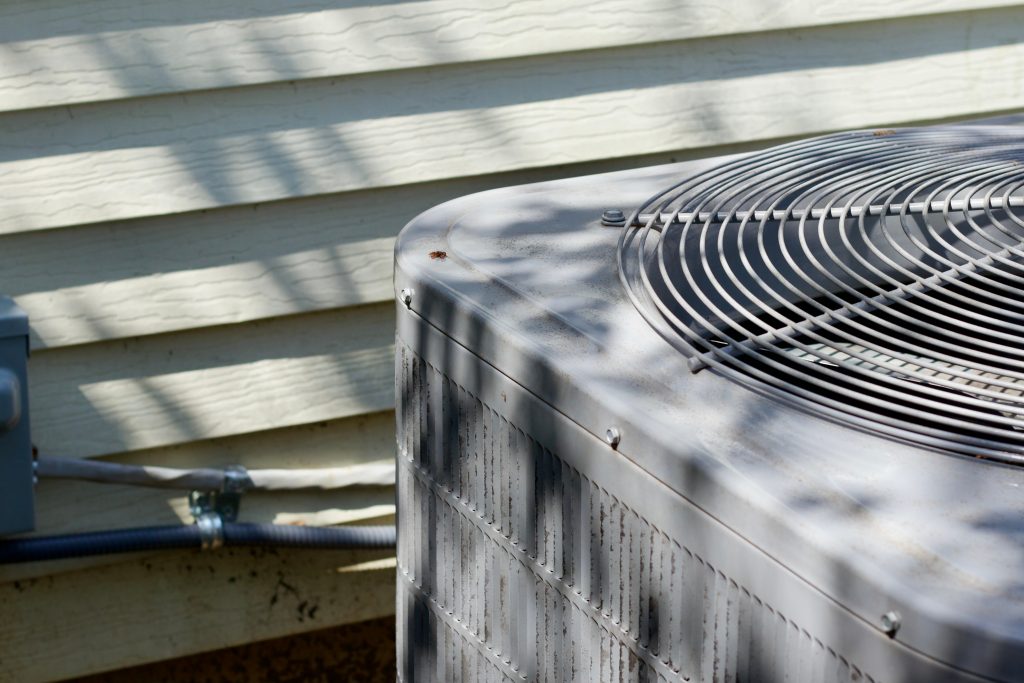
The outside HVAC unit can easily become a collection point for fallen leaves, twigs, grass clippings and other debris. Remove all debris on and around the unit each time you do yard maintenance, and hose it down if dirt begins to accumulate. Keep nearby plants trimmed back at least two feet from all sides of the unit to help maintain proper airflow.
6. Regulate Your Home Temperature
Maintaining your HVAC includes operating it at temperatures that are comfortable and avoiding running it as much while you are away from home or sleeping. Consider installing a programmable thermostat to automatically adjust the temperature at different times of the day. If you allow the house to stay cooler in winter and warmer in summer while you are not home, the system will run less frequently, use less power and last longer.
7. Change the Batteries in Your Thermostat
Some thermostats are hardwired into the home electrical system. Others are battery-powered. Replace batteries at least once a year to prevent problems.
8. Maintain the Carbon Monoxide Detector
A carbon monoxide detector is an essential safety device in homes with combustion-based heating systems such as natural gas or fuel oil. In the event of an exhaust leak, impaired ventilation, excess gas flow or other malfunction, the alarm could save your life.
These devices have an average working life of about seven years. Test the carbon monoxide detector monthly to ensure it is in proper working order, and replace it if necessary. Plan on changing the batteries every six months.
9. Monitor Energy Bills
If you notice either a spike or a gradual increase in energy consumption when usage is unchanged, it could be a sign of an issue with your HVAC system. Schedule a service visit with your trusted heating and cooling company to have them check the system. Dirty filters, duct leaks, low refrigerant, failing parts or other issues could be the cause.
10. Consider Total Replacement
The average lifespan of an HVAC system is between 15 and 25 years. Several variables can increase or decrease that timeline, including the type of system, brand, and consistency of maintenance. By caring for your heating and cooling system diligently you will maximize its working life and maintain higher efficiency for a longer period of time.
Eventually, energy efficiency begins to dwindle and repairs come more frequently. When you notice that the old system isn’t as reliable as it used to be, don’t wait for it to finally crash on the hottest day, coldest night, or while you’re away on vacation. Plan ahead and replace your HVAC system on your own terms.


